Azure Active Directory SAML integration guide
This integration guide shows how to set up Microsoft Azure Active Directory (Azure AD) as a SAML single sign on provider for your Redis Cloud account.
This guide shows how to configure Microsoft Azure Active Directory (Azure AD) as a SAML single sign-on identity provider (IdP) for your Redis Cloud account.
To learn more about Redis Cloud support for SAML, see SAML single sign on.
Step 1: Set up your identity provider (IdP)
To create the Azure AD SAML Toolkit integration application:
-
Sign in to Microsoft Azure account.
-
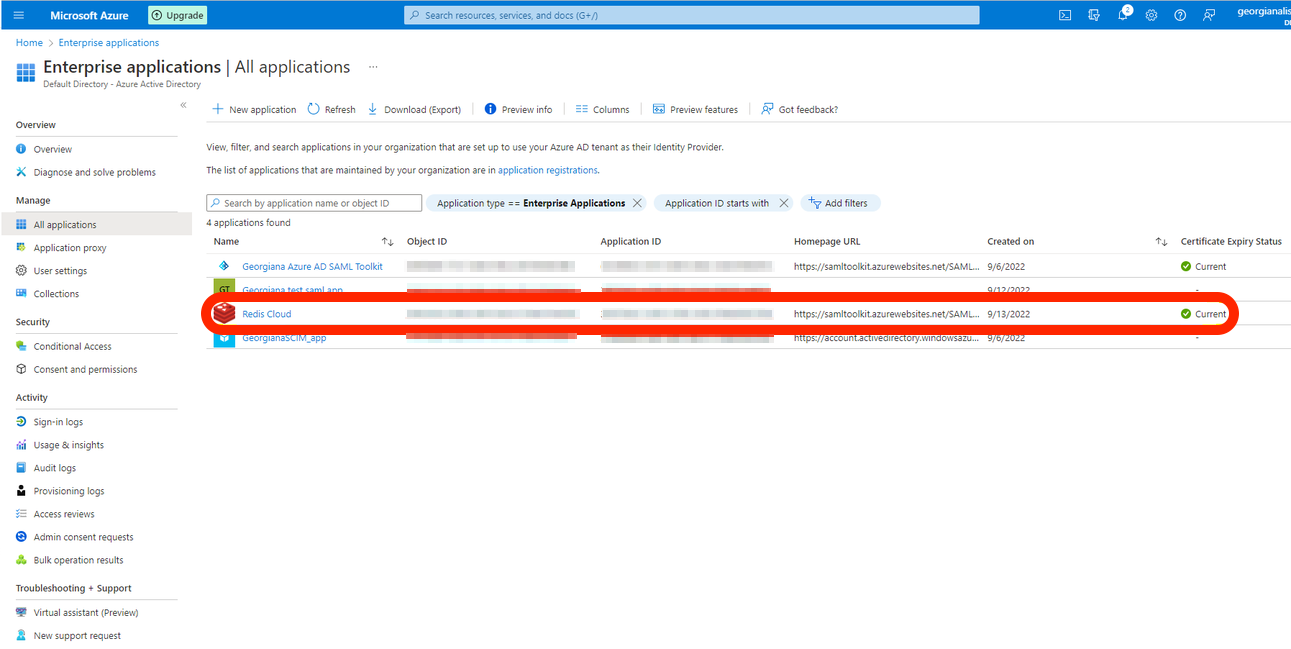
From the main menu, select Azure Active Directory > Enterprise Applications

-
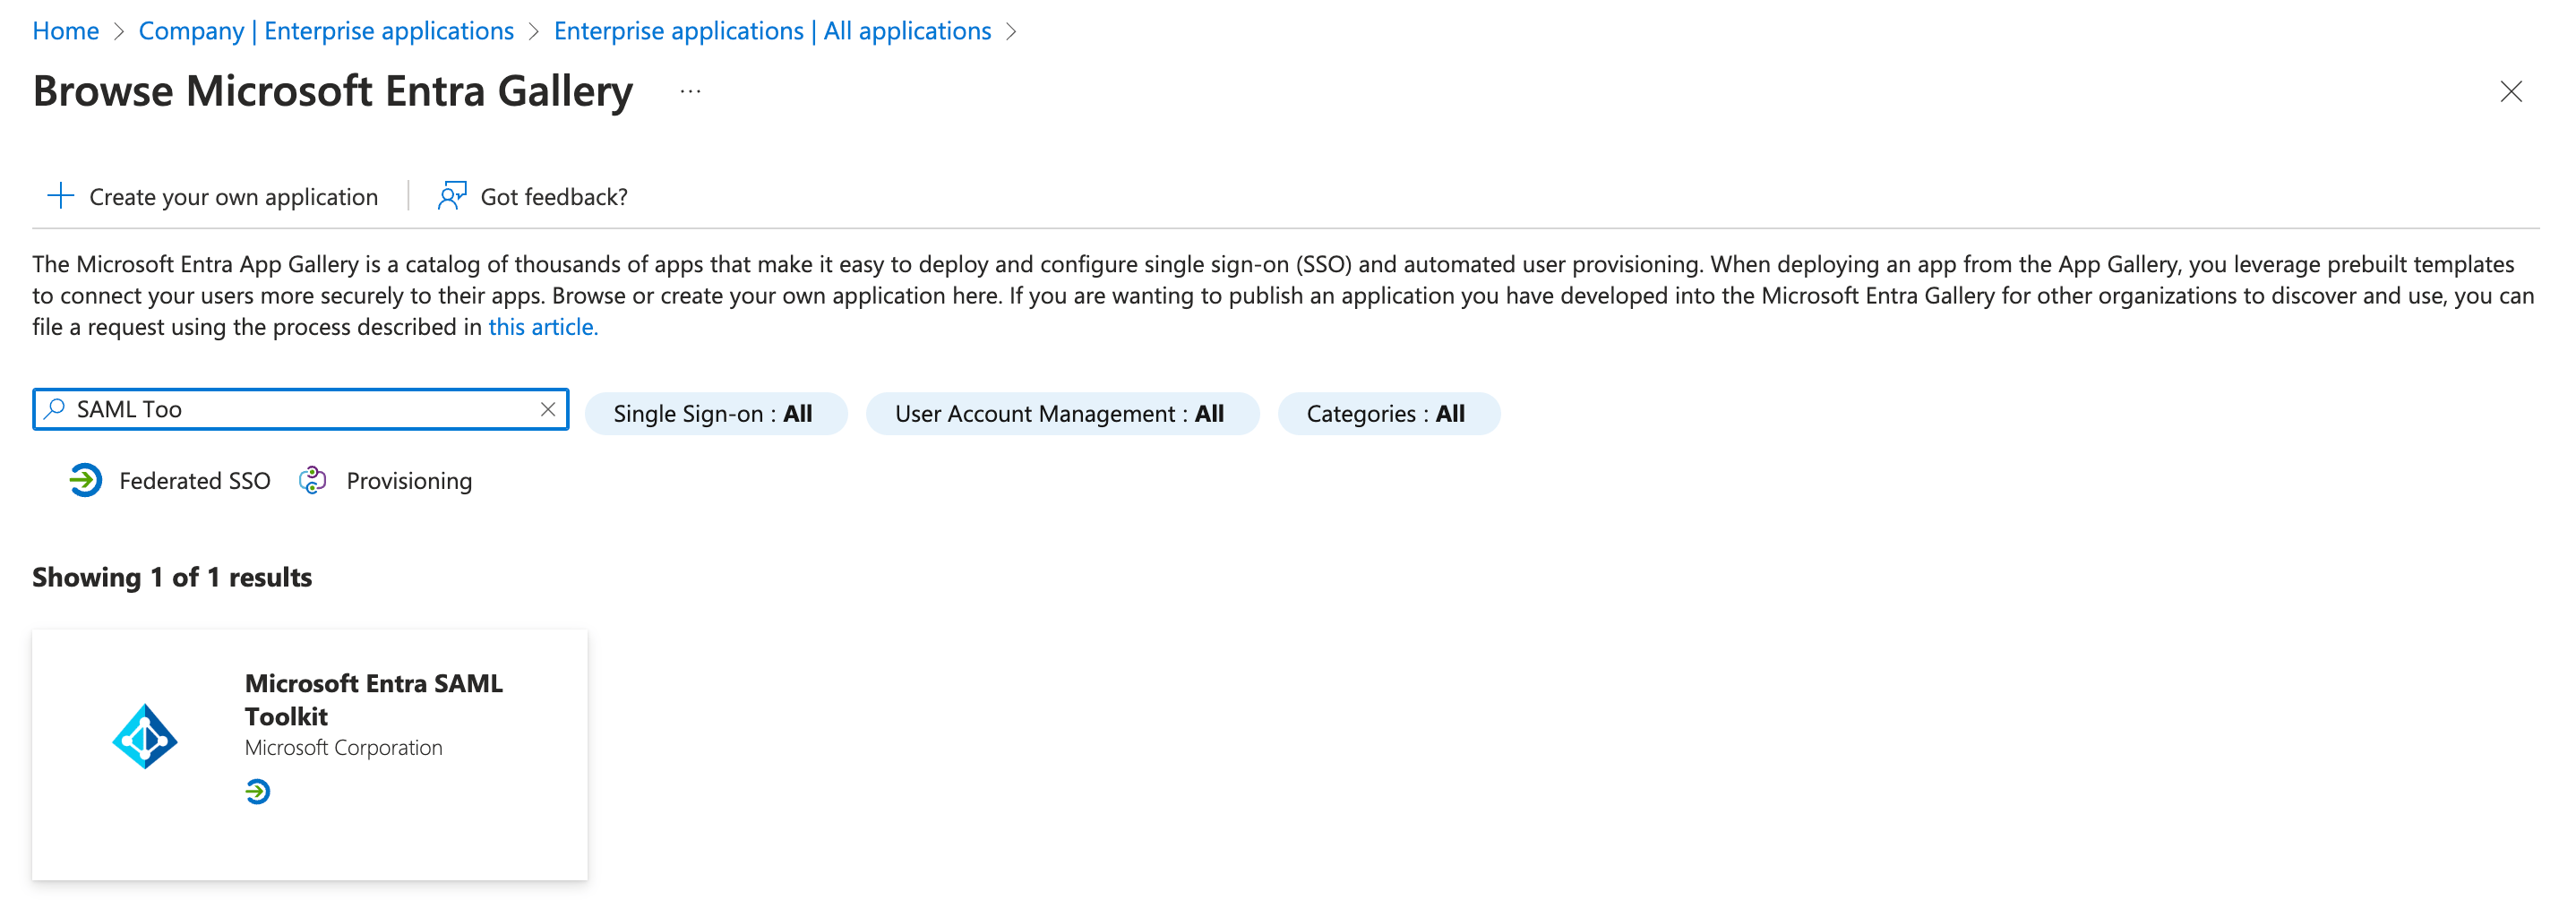
Add a New Application > Azure AD SAML Toolkit.
-
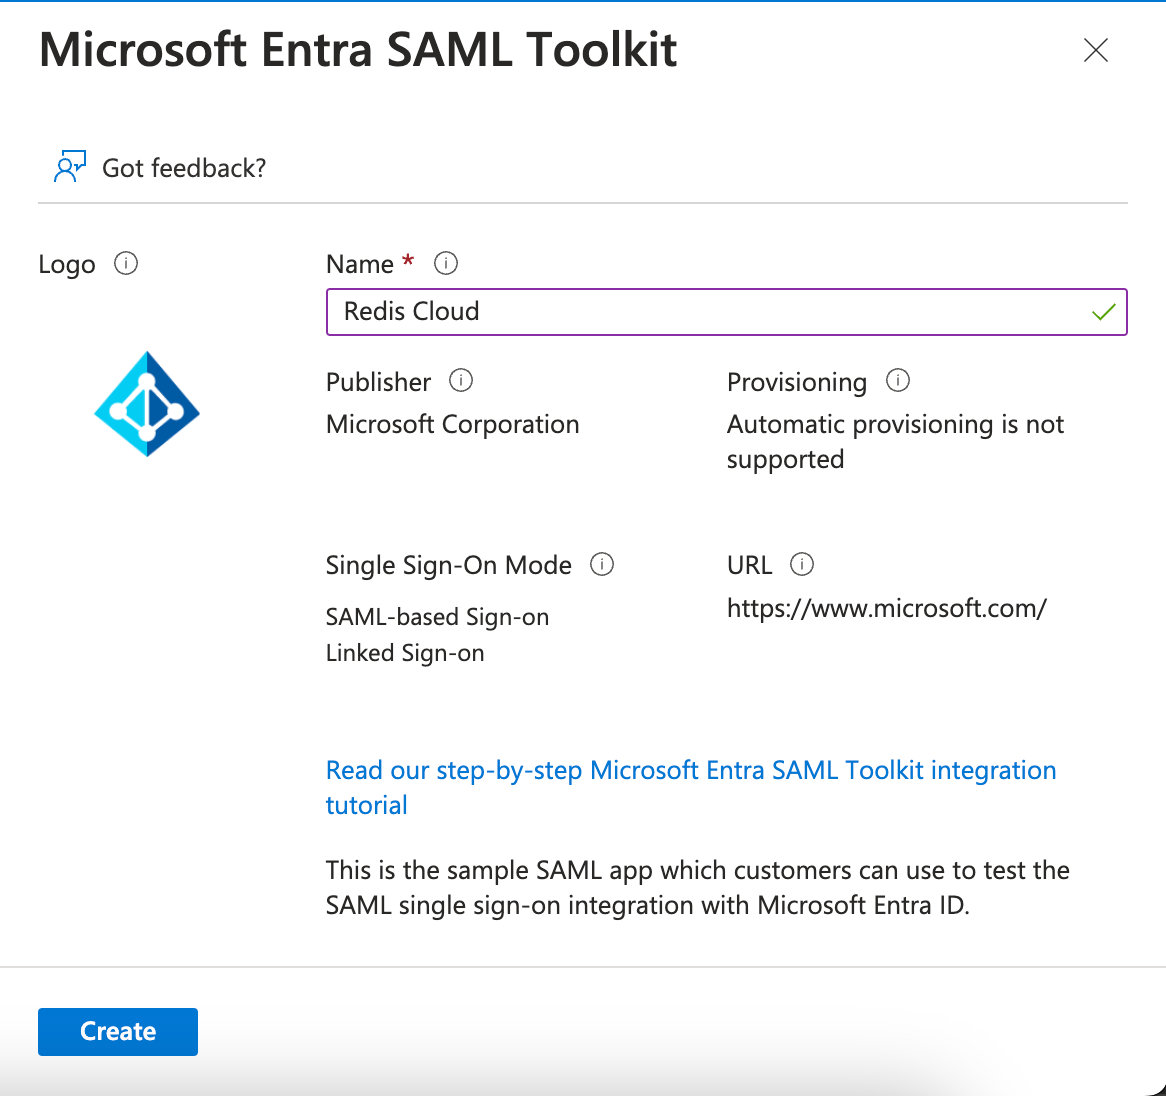
Provide an application name and select Create.
-
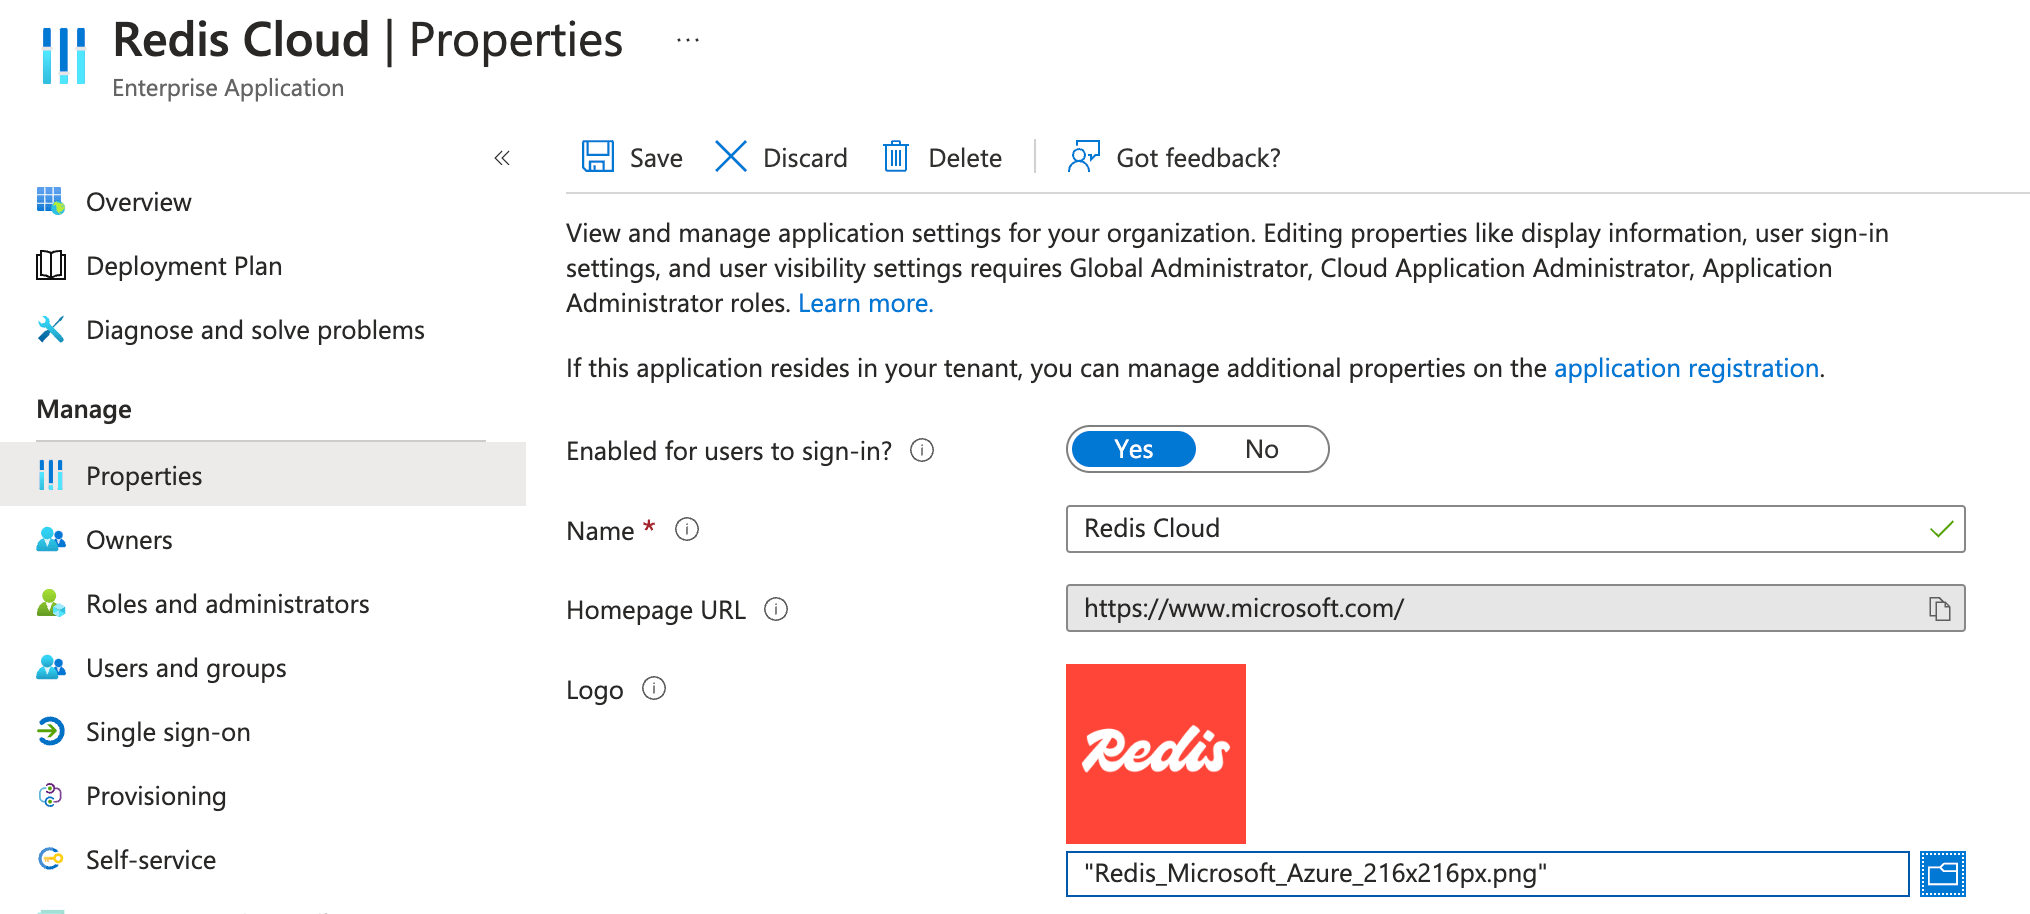
Select Properties and upload the Redis logo. Select Save.
-
Once the application is created, select Set up single sign on.

-
Select SAML as the single sign-on method.

-
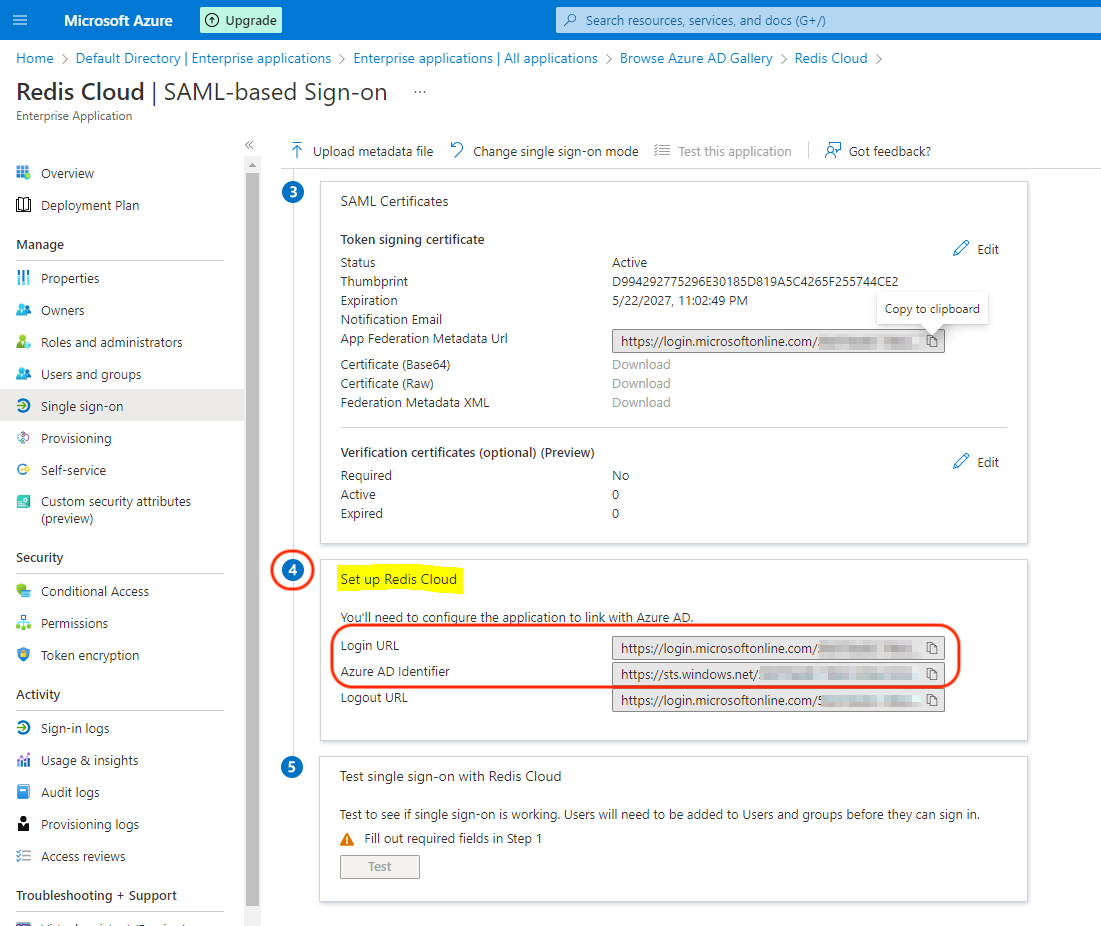
Scroll down to Step 4 in the configuration screen, and note down or copy the following information:
- Login URL is used as the "IdP server URL" in the SAML configuration in admin console.
- Azure AD Identifier is used as the "Issuer (IdP Entity ID)" in the SAML configuration in admin console.
-
Scroll up to Step 3 in the configuration screen.
-
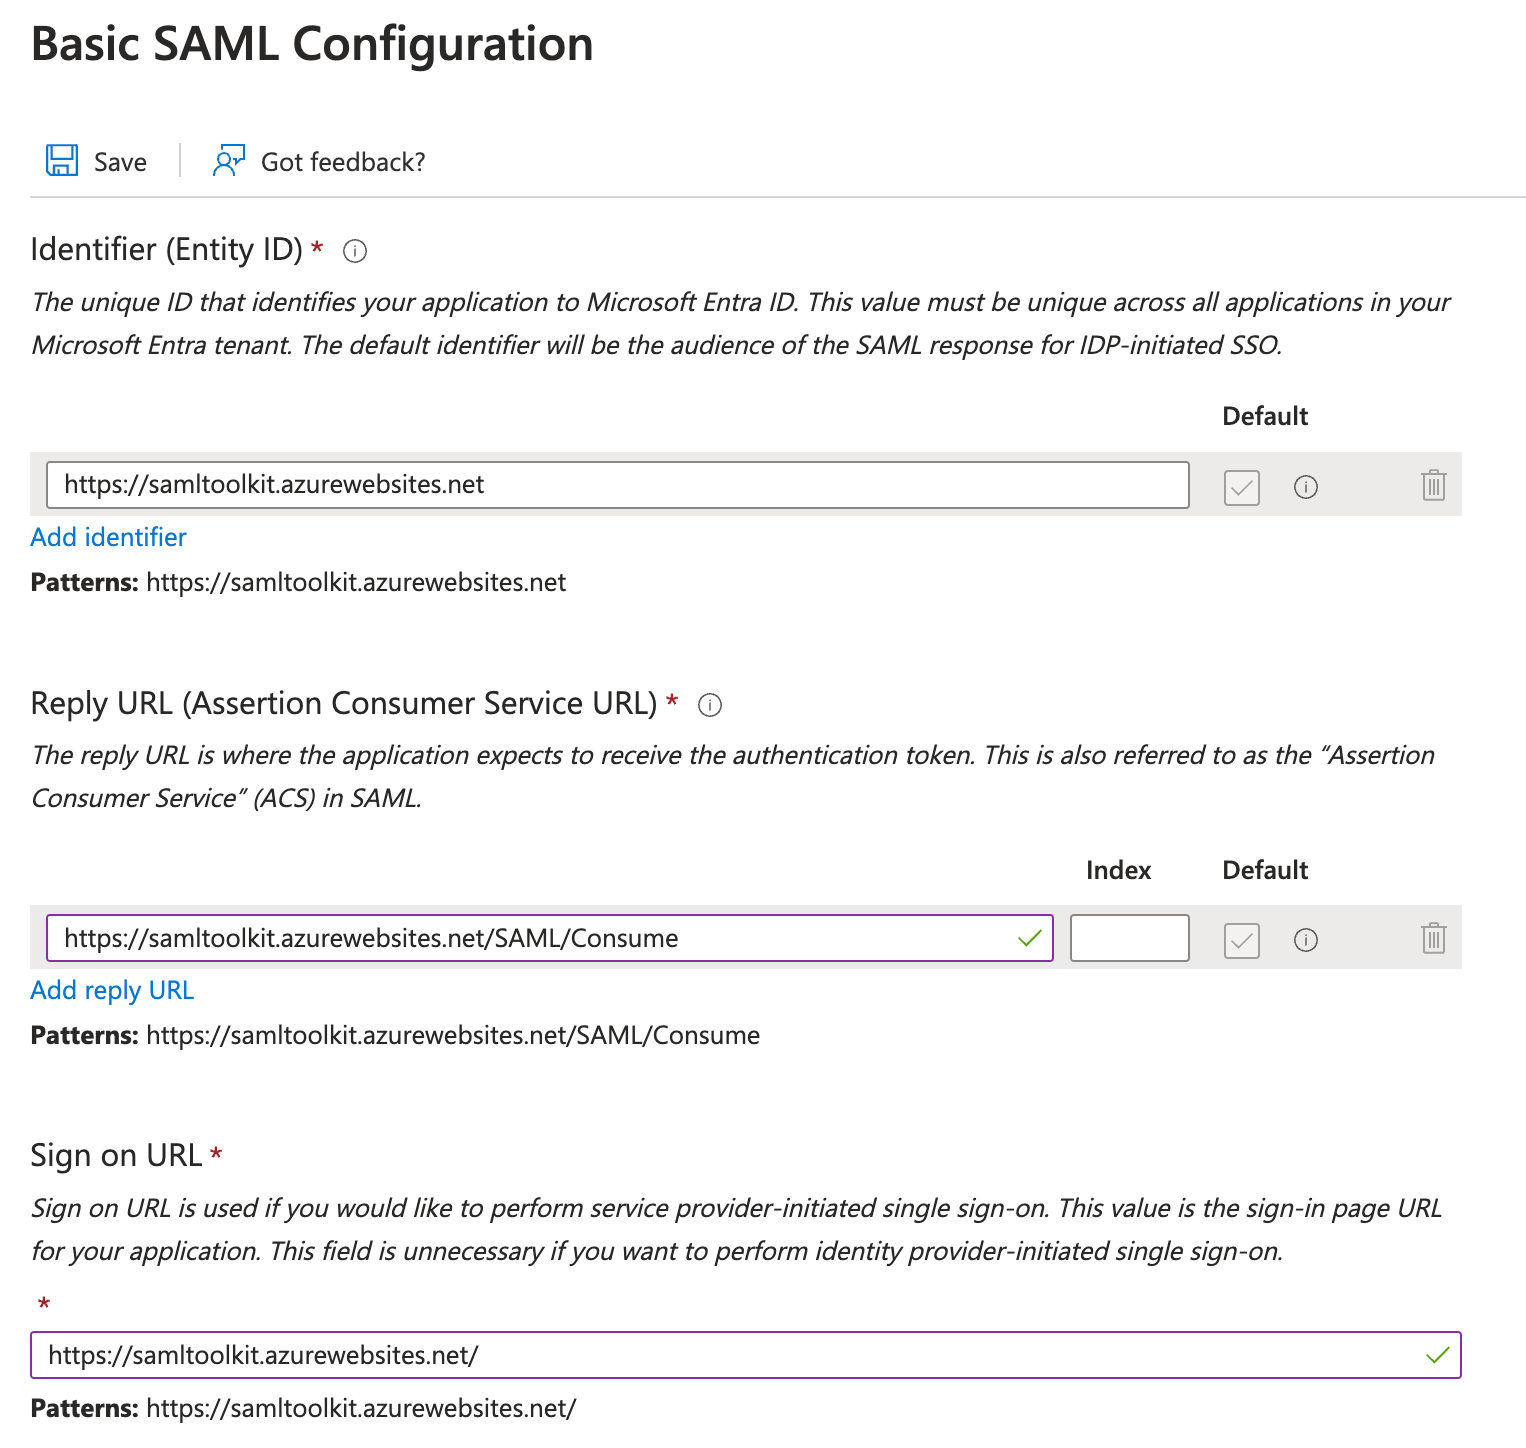
Scroll up to Step 1 in the configuration screen and enter some mock data in the required fields. Select Save.
The certificate is available for download. Select Download to save the certificate to your hard drive.
Step 2: Configure SAML support in Redis Cloud
Now that you have your AD IdP server ready, configure support for SAML in Redis Cloud.
Sign in to Redis Cloud
Sign in to your account on the Redis Cloud console.
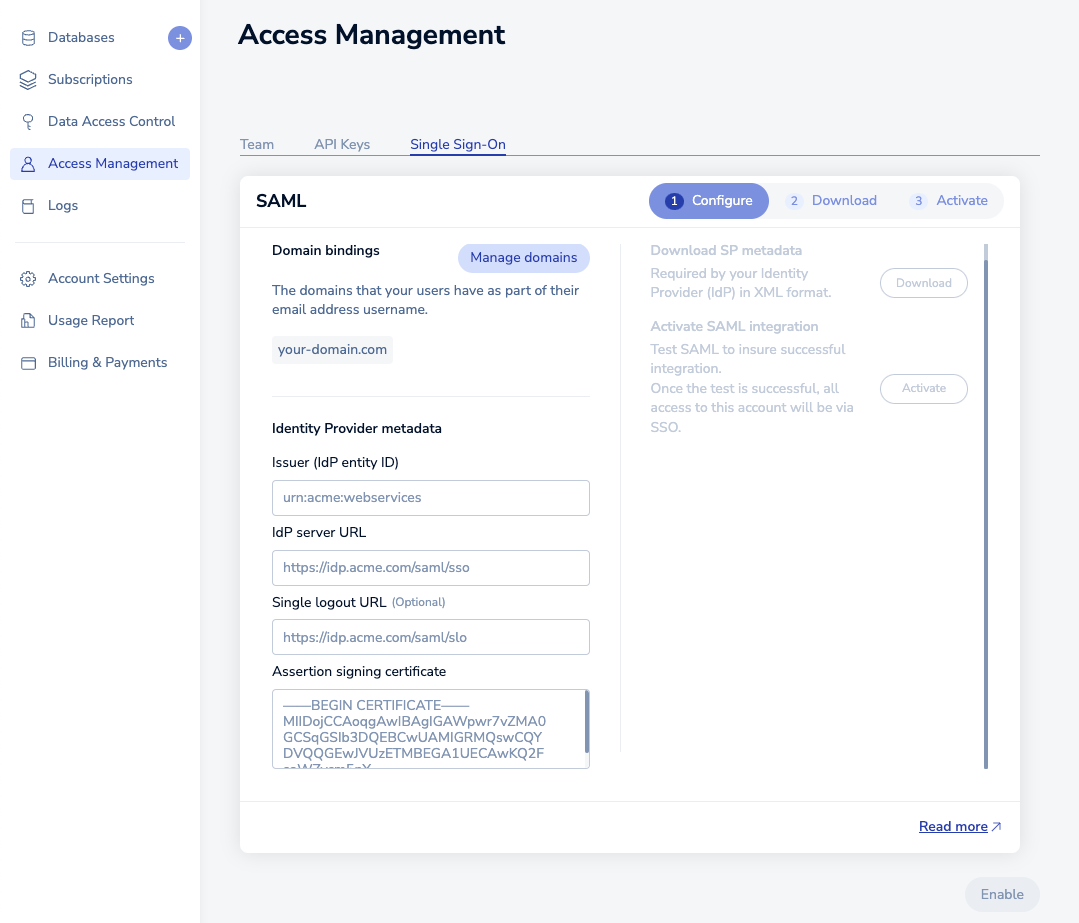
Activate SAML in access management
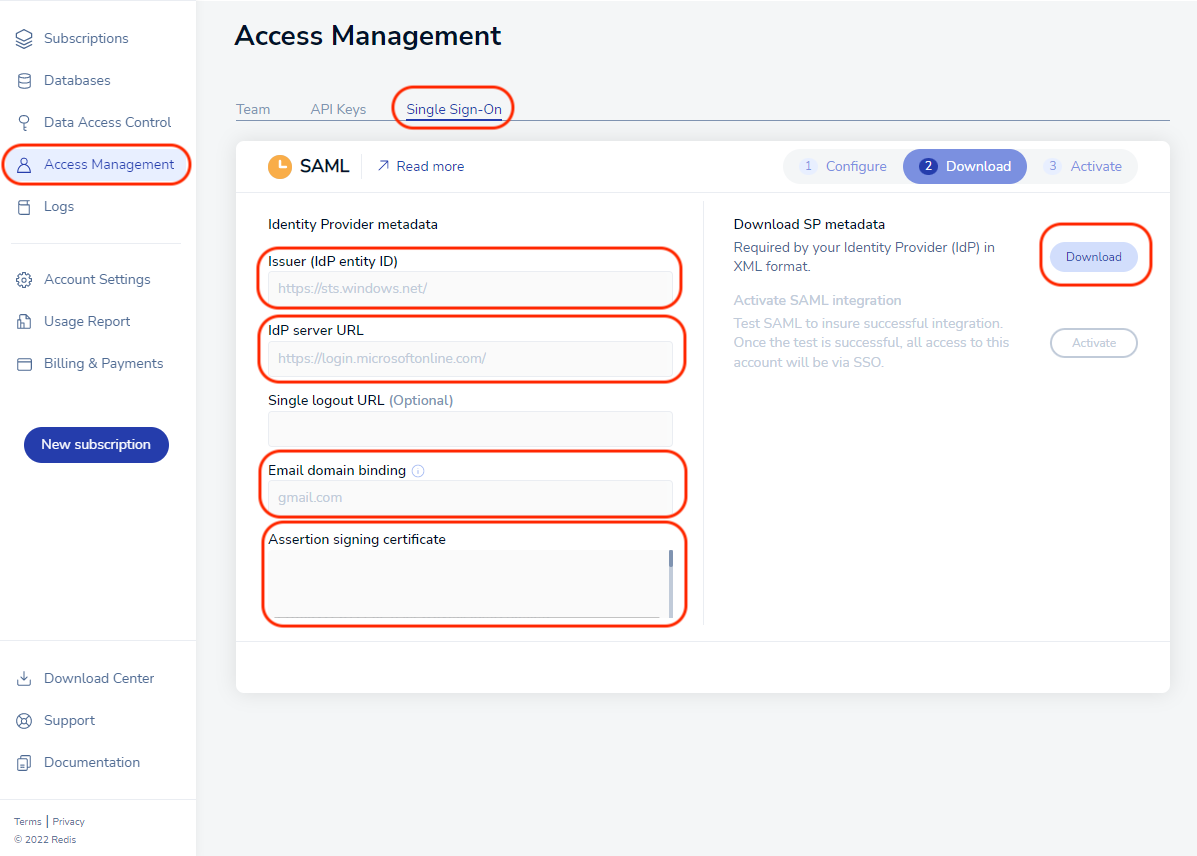
To activate SAML, you must have a local user (or social sign-on user) with the owner role. If you have the correct permissions, you will see the Single Sign-On tab.
-
Fill in the information you saved previously in the setup form. This includes :
- Issuer (IdP Entity ID): Azure AD Identifier
- IdP server URL: Login URL
- Assertion signing certificate: Drag-and-drop the certificate file you downloaded to disk in the form text area
Also add:
Once you click the enable button, wait a few seconds for the status to change.
-
You will then be able to download the service provider (SP) metadata. Save the file to your local hard disk.
-
Open the file in any text editor. Save the following text from the metadata:
- EntityID: The unique name of the service provider (SP)

- Location: The location of the assertion consumer service

Step 3: Finish SAML configuration in Azure AD
-
Go back to Azure setup and Edit the Basic SAML Configuration in Step 1.
This is where you entered mock data. Let's now enter the correct data for this step.
Note:For theEntityIDandLocationfields below you can directly upload the metadata file using the option at the top of the page. However, you will still need to manually add the Sign on URL.-
Paste
EntityIDinformation in theIdentifier (Entity ID)field. -
Paste
Locationlink inReply URL (Assertion Consumer Service URL)field. -
For the
Sign on URLfield, add URLhttps://app.redislabs.com/#/login/?idpId=where you need to add the ID from the Reply URL ID, for example,https://app.redislabs.com/#/login/?idpId=0oa5pwatz2JfpfCb91d7.
Select Save.

-
-
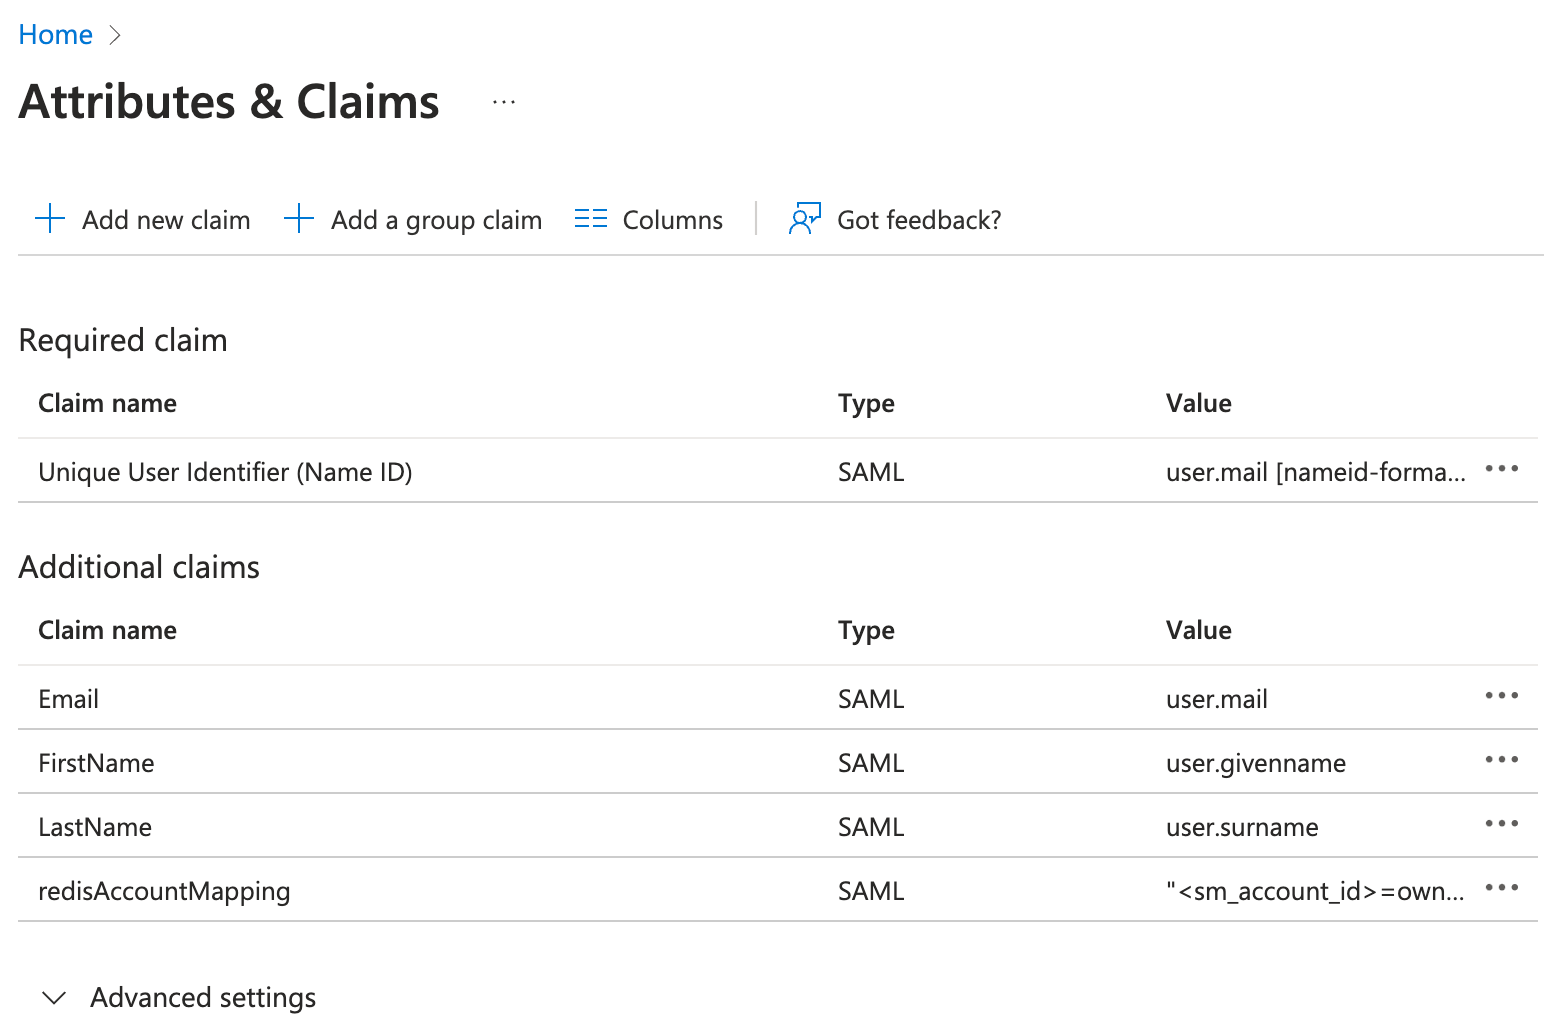
Go to step 2, Attributes & Claims and select Edit.

-
Configure these attributes and claims:
-
Modify Unique User Identifier (Name ID) to user.mail
-
Modify additional claims to match SAML assertion as follows:
-
Email: user.mail
-
FirstName: user.givenname
-
LastName: user.surname
-
redisAccountMapping: "YOUR_SM_ACCOUNT_ID=owner"
-
Redis Cloud account IDs and user roles pairs. The key-value pair consists of the lowercase role name (owner, member, manager, billing_admin, or viewer) and your Redis Cloud Account ID found in the account settings.
-
-
-
To add a user to the application, select User and Groups > Add user/group.

-
Add the user and select Assign.

Step 4: Return to Redis Cloud console
-
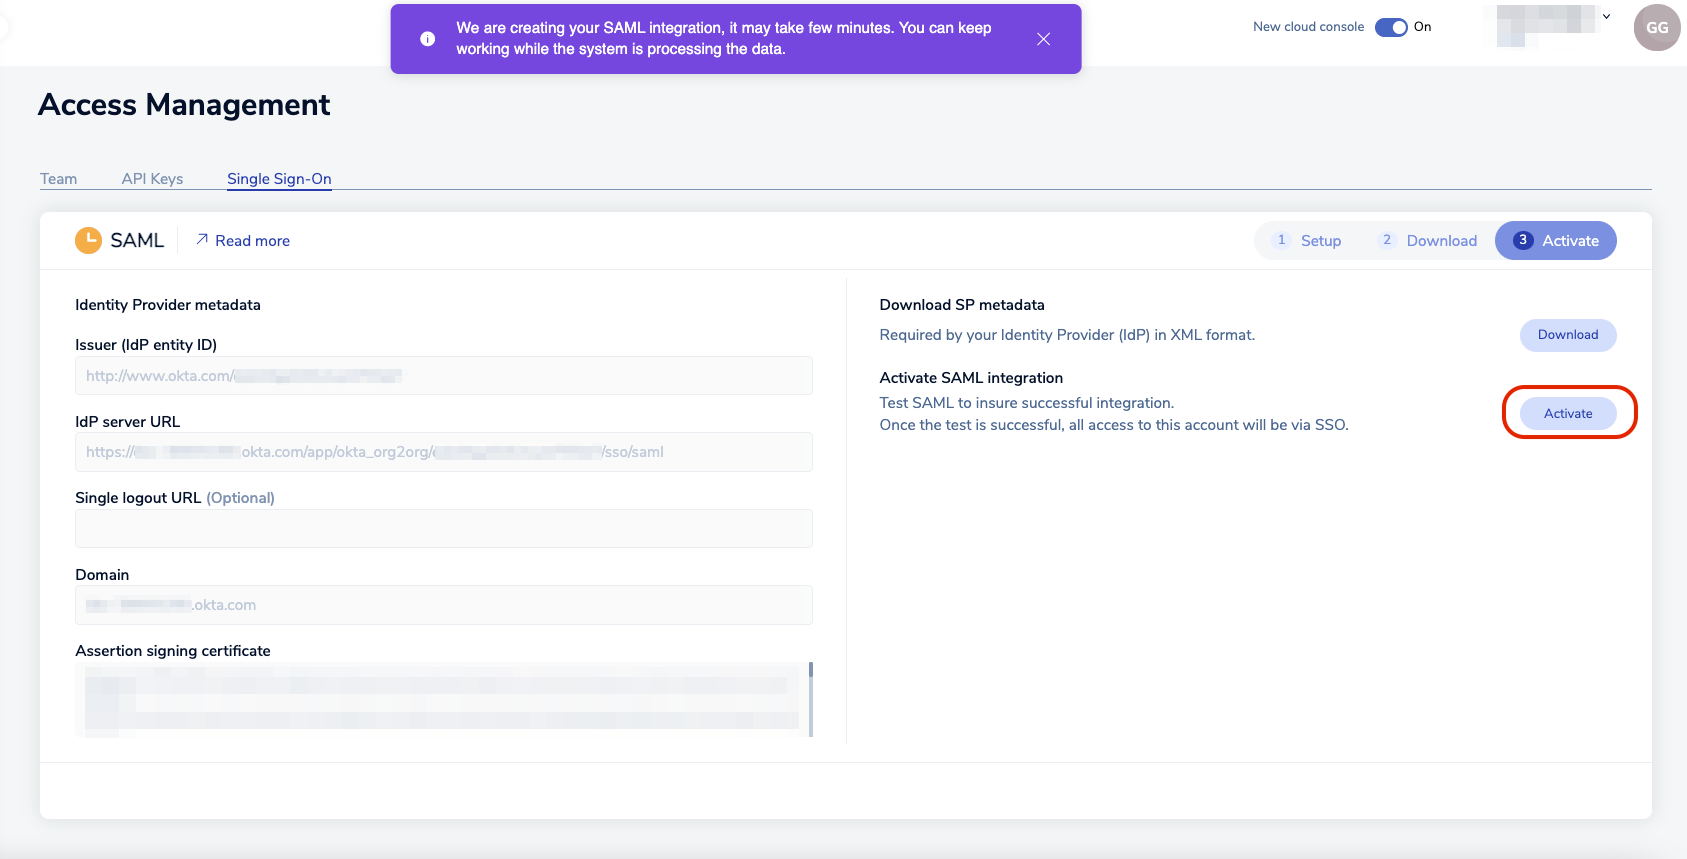
Return to Redis Cloud console and select Activate.
-
A popup appears, explaining that to test the SAML connection, you need to log in with the credentials of a user defined in Azure AD.

-
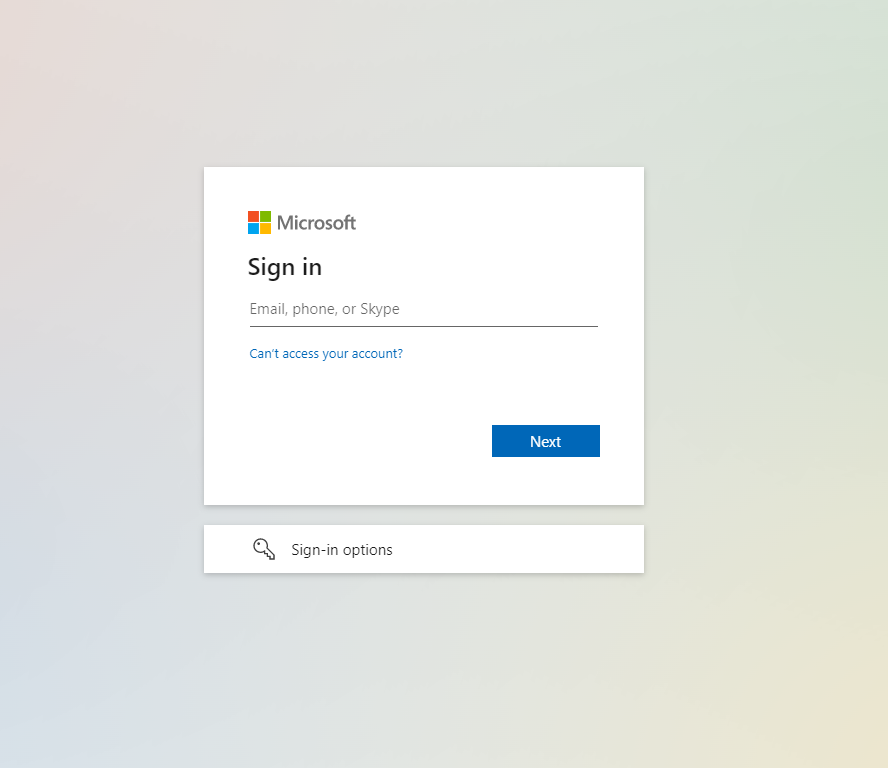
The Microsoft AD login screen will appear. Enter the credentials and click Sign In.
-
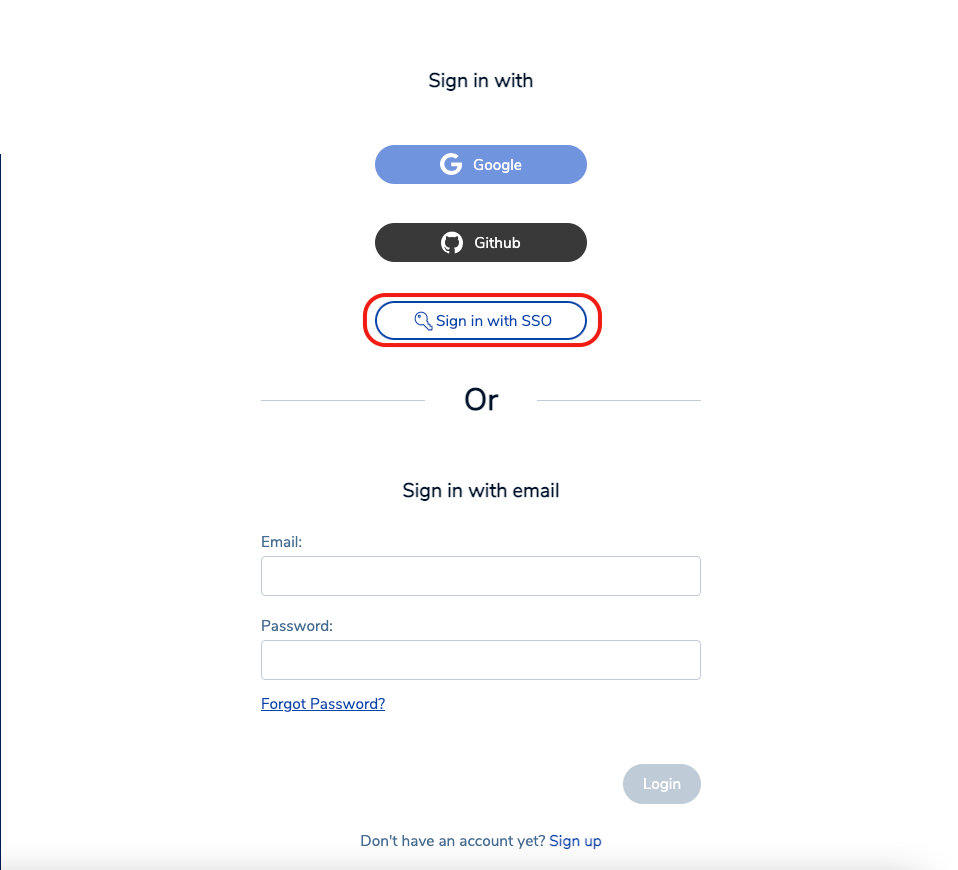
If the test has succeeded, you will see the following screen. Your local account is now considered a SAML account. To log in to Redis Cloud console going forward, select Sign in with SSO.
-
Enter your SAML email and click Login.
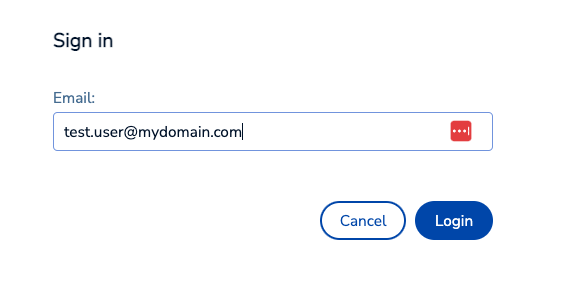
You have successfully configured SAML as an identification provider.

Claim conditions and user groups
If your users are going to be part of different Groups, you can create a Claim Condition for the redisAccountMapping attribute.
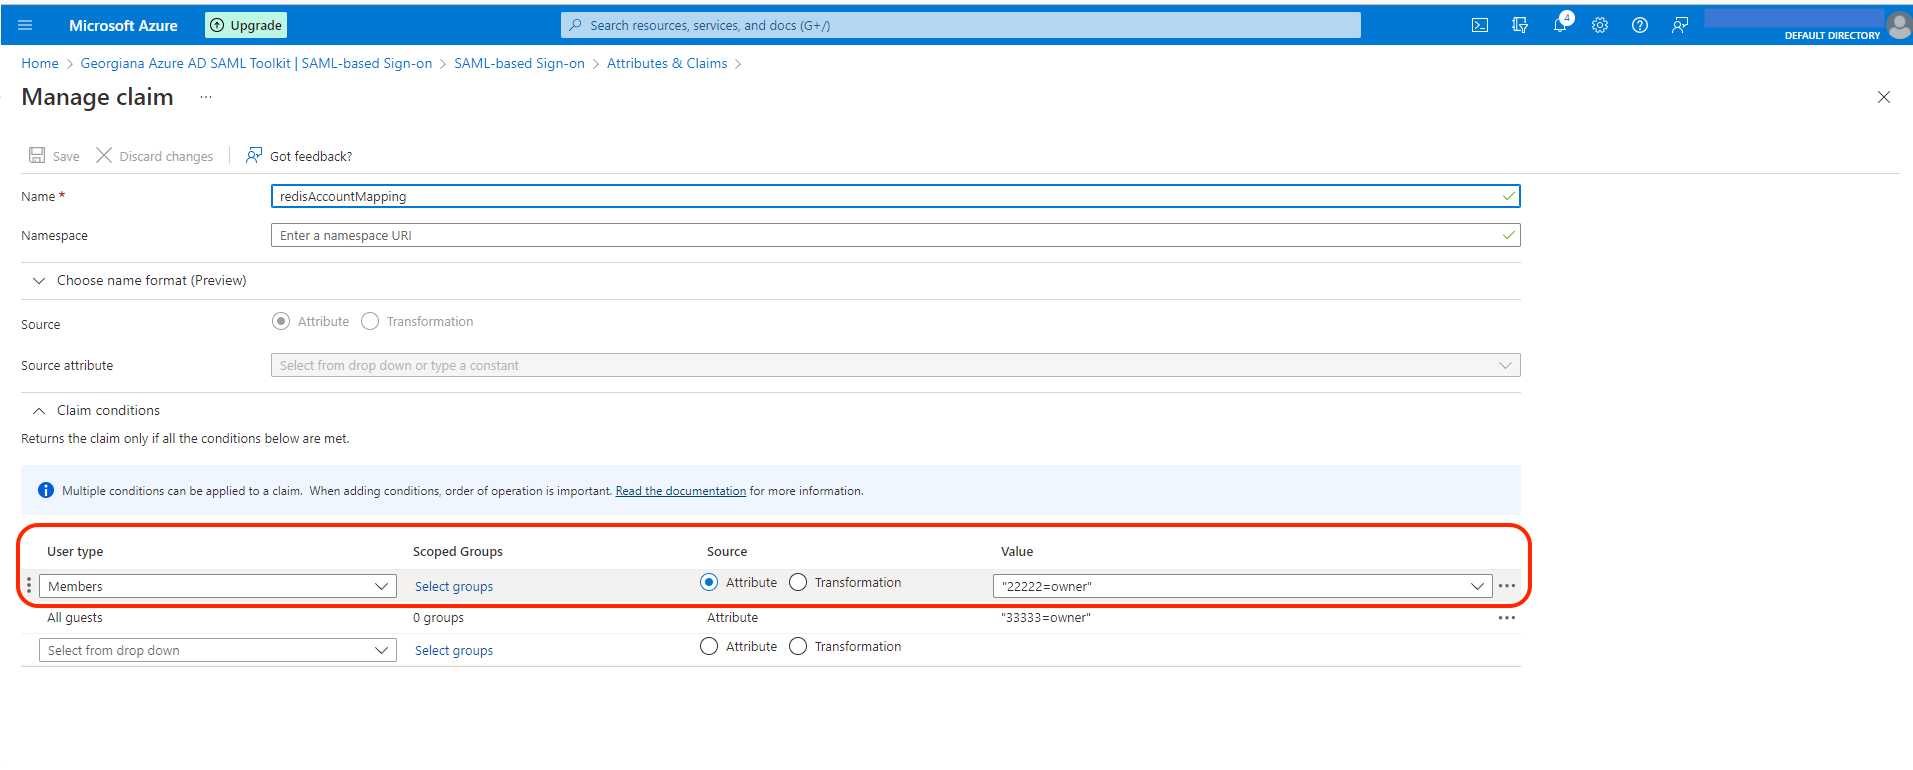
IdP initiated SSO
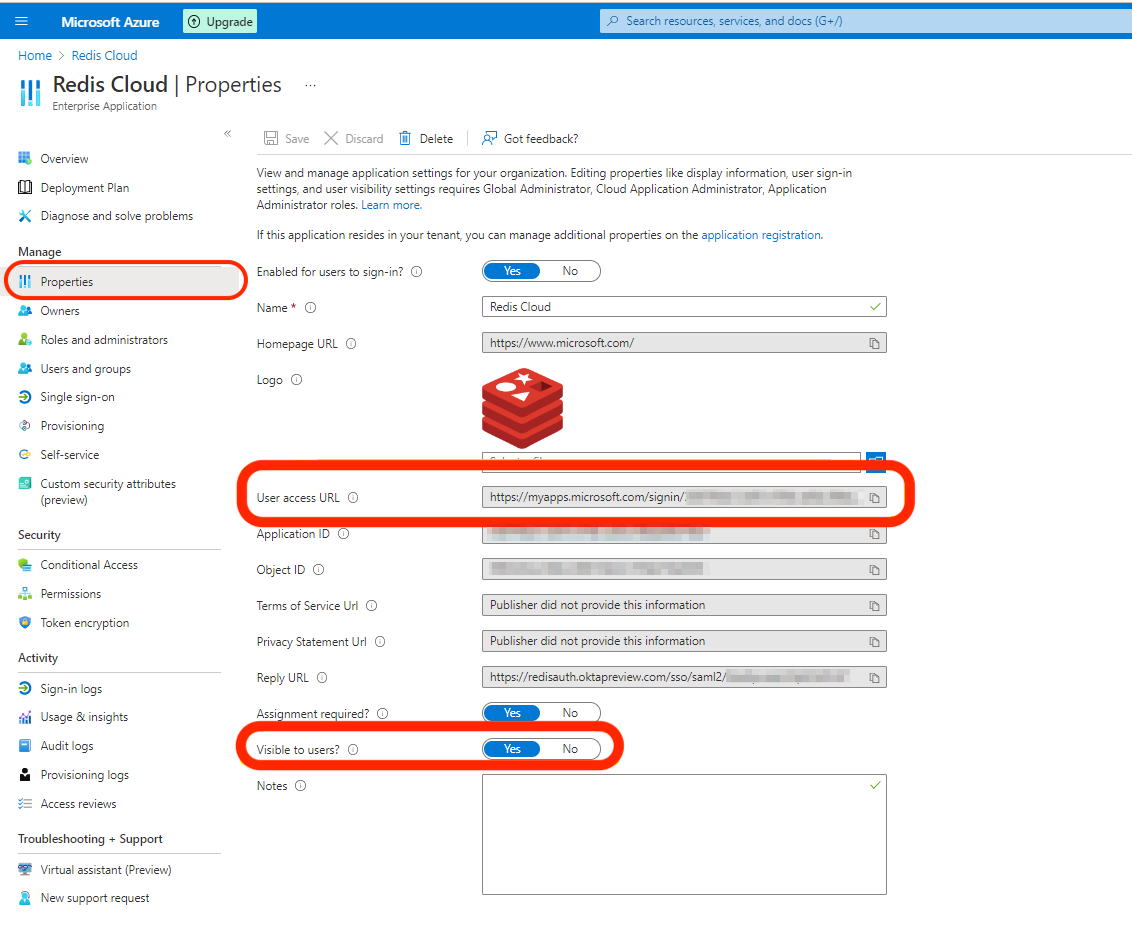
If you correctly set the up the Sign on URL, the SAML application appears by default on the user's My Apps panel.
While assigning the user to the app, a notification will appear:
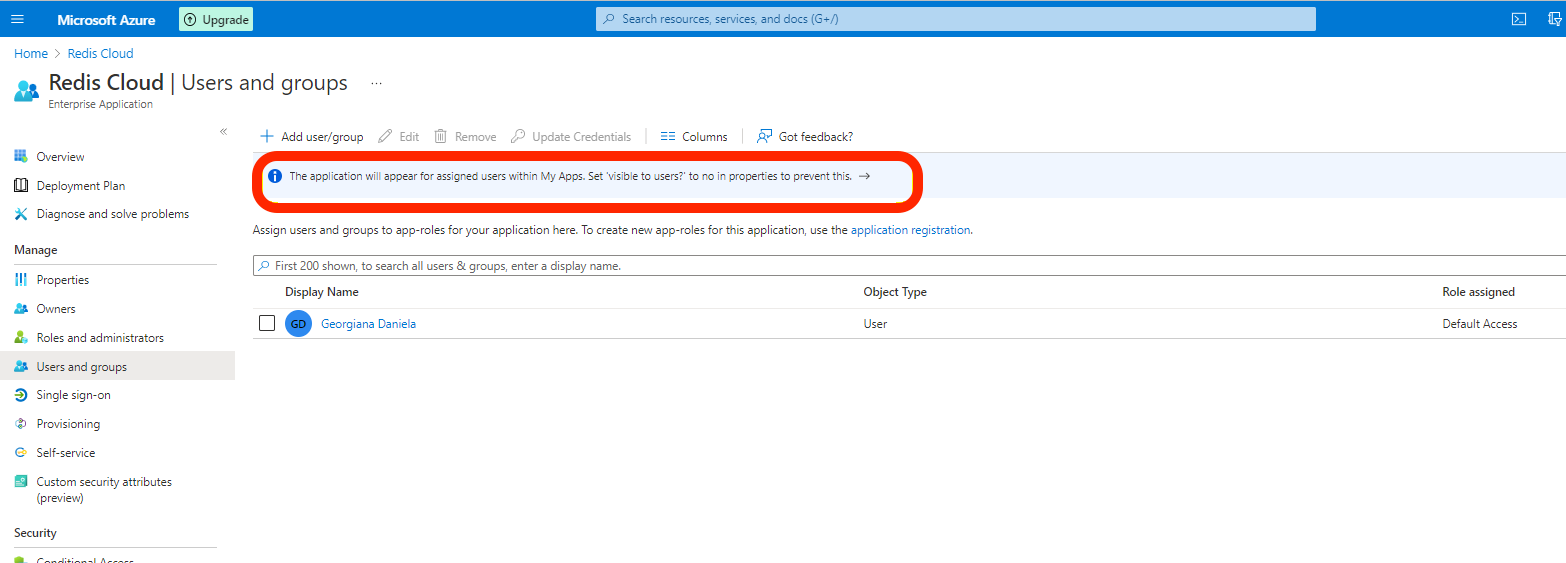
Therefore, if you sign into https://myapplications.microsoft.com/, the application will be available.
If the app is not available, make sure that the App is registered. It should be done automatically.
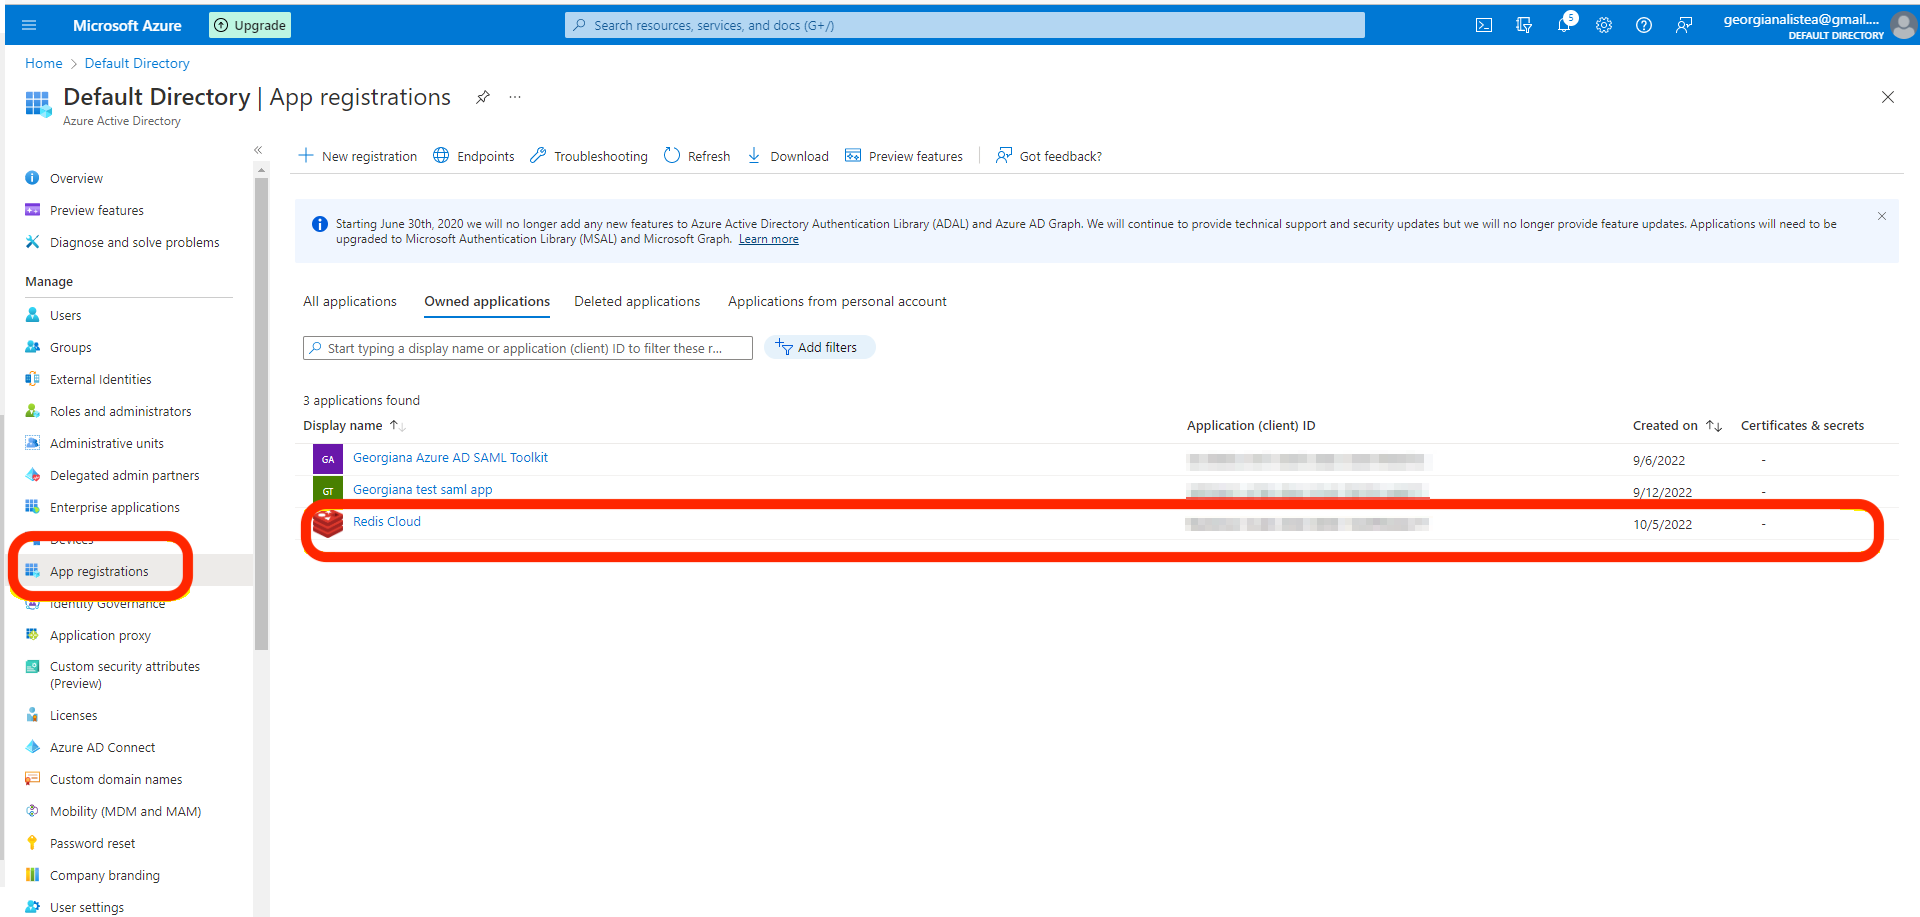
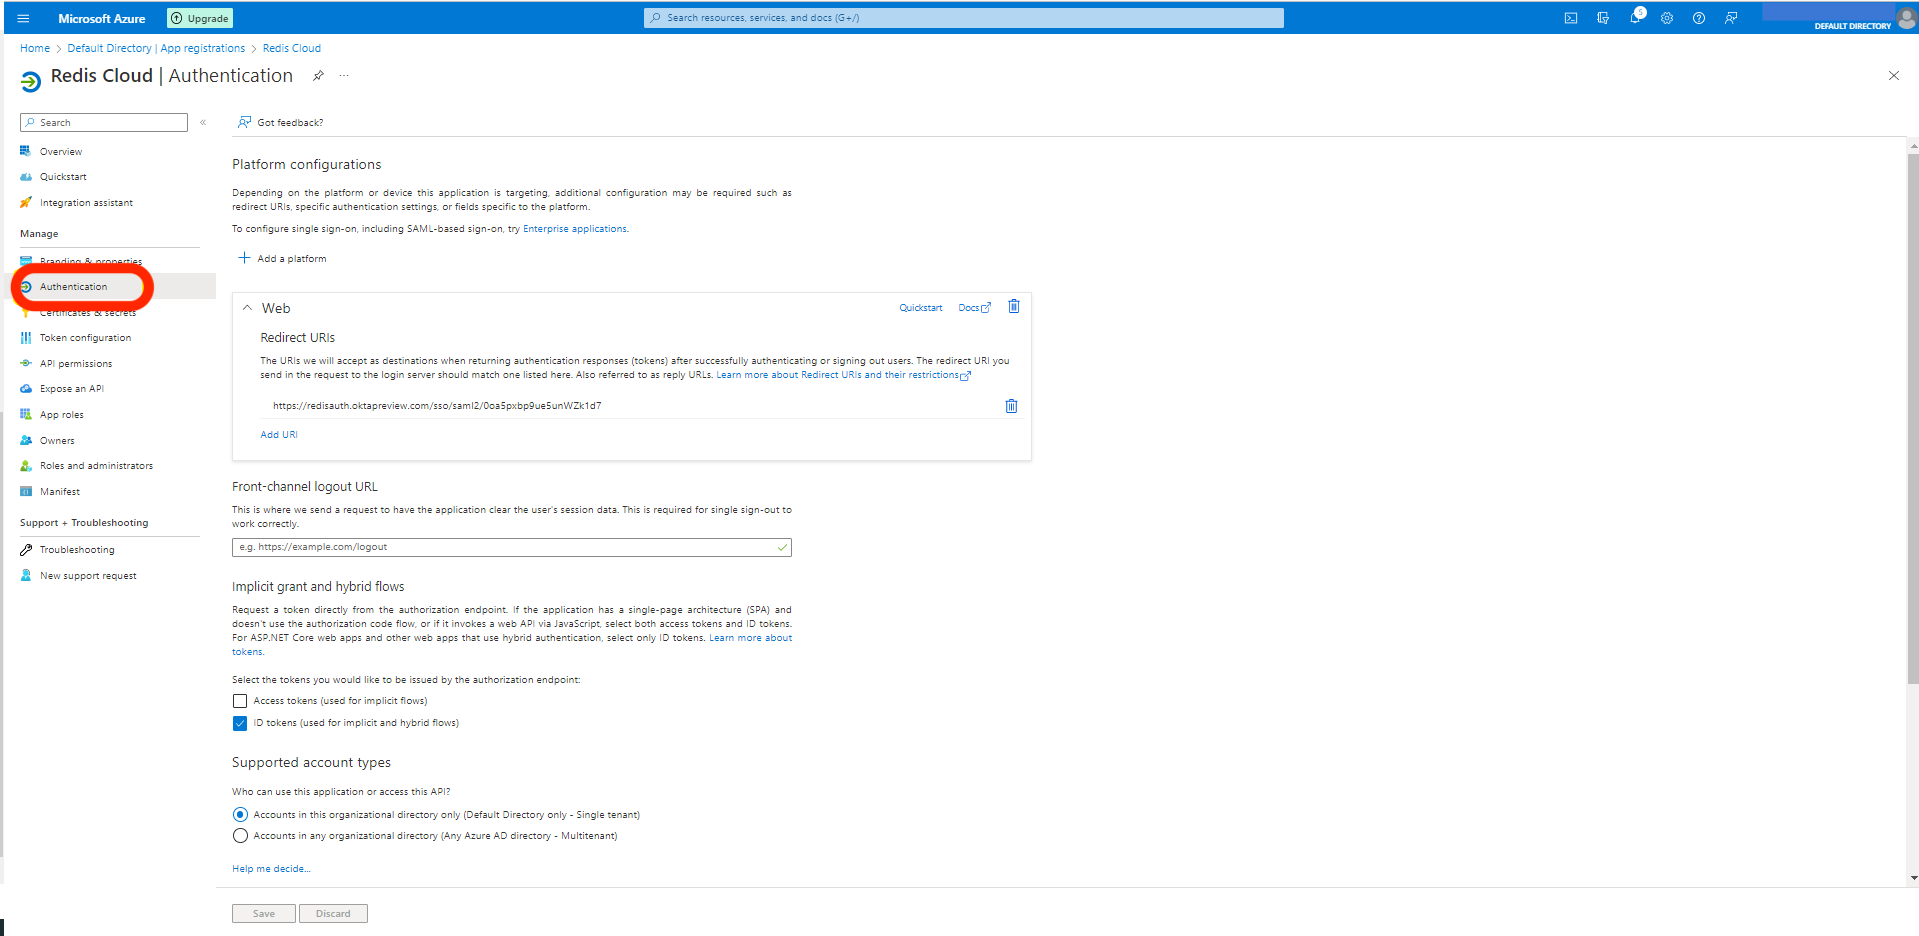
You can also access the app directly by using the User access Url from App Properties.

